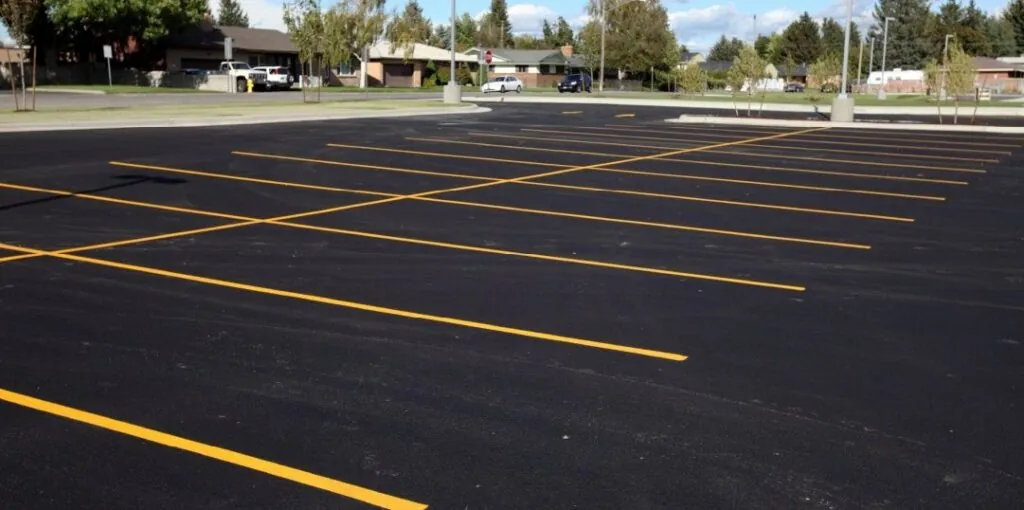
A well-maintained parking lot is essential for ensuring smooth traffic flow, safety, and an attractive appearance. Our Parking Lot Line Painting Guide will help you understand the importance and process of creating clear, durable markings that enhance both functionality and aesthetics. Whether you’re looking to re-stripe an existing lot or paint new lines, this comprehensive guide will provide you with all the details you need for successful parking lot line painting.
Why the Parking Lot Line Painting Guide Matters
Our Parking Lot Line Painting Guide highlights several key benefits:
- Organization: Proper line painting helps to efficiently organize parking spaces, guiding drivers and optimizing space usage.
- Safety: Clear markings reduce the risk of accidents by directing traffic and ensuring pedestrian safety.
- Compliance: Accurate line painting helps meet local regulations and accessibility standards, including ADA compliance.
- Visual Appeal: Fresh lines improve the overall look of your property, creating a professional and inviting environment.

Step-by-Step Parking Lot Line Painting Guide
1. Assessment and Planning
Begin with a thorough assessment of the parking lot to determine the layout and design required. This initial step is crucial for effective line painting and is covered extensively in our Parking Lot Line Painting Guide.
2. Surface Preparation
Properly prepare the surface by cleaning it to remove any dirt and debris. This step ensures the paint adheres correctly and is a key point in the Parking Lot Line Painting Guide.
3. Layout Marking
Mark the layout for the lines using chalk or temporary paint. This step involves creating a precise plan for the lines, which is a central theme in the Parking Lot Line Painting Guide.
4. Choosing the Right Paint
Select high-quality paint designed for pavement marking to ensure durability and visibility. Our Parking Lot Line Painting Guide emphasizes the importance of using the right paint for the best results.
5. Applying the Paint
Apply the paint using striping machines or spray guns to achieve even coverage. The application process is detailed in our Guide to ensure you get professional results.
6. Drying and Curing
Allow the paint to dry and cure properly to ensure durability. This crucial step is also covered in the Guide.
7. Final Inspection and Touch-Ups
Conduct a final inspection and make any necessary touch-ups. This step ensures that all markings meet your standards, as outlined in the Lot Line Painting Guide.
8. Cleanup
After painting, clean up the work area to maintain a neat appearance. Our Parking Line Painting Guide provides tips on how to handle this step effectively.

Why Choose Discount Pothole & Sealing
For expert parking lot line painting, turn to Discount Pothole & Sealing. We follow the detailed steps outlined in the Parking Lot Line Painting Guide to ensure your lot is marked to perfection. Our team uses top-quality materials and equipment to deliver clear, durable markings that enhance both safety and appearance.
Contact Discount Pothole & Sealing today for professional parking lot line painting services. Refer to our Parking Lot Line Painting Guide to understand how we can transform your parking space into a well-organized, visually appealing area. Get a free estimate and experience the difference with our expert services!

